So understanding that today i started creating the gear system, the clasp, the spring system which had yet to be completed, the minor details that needed to be altered to directly reflect the progress made with the jewellery object
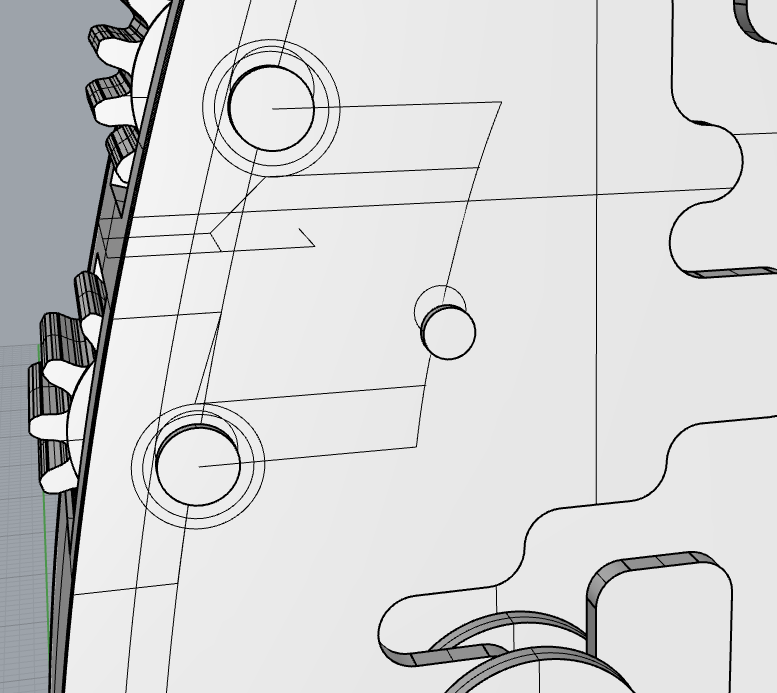
So today i started with inserting the gears into the 3D model which definitively takes time because they have to fit exactly into the hole they occupy while also being properly spaced on the rotating axis.


Totally wrong they need to be spaced and allow for the spacers that hold them in the correct space oh and they should fit together properly


So i definitely struggled to get this part done but guess what we also have a completely different gear that we need to make. I had a couple issues with that one based on its size the Boolean union hated it until i found a solution which was to start at 0 but here it is

Its very cute and also has completely different dimensions so i needed to make a different setup which the whole making your own teeth for the gears is quite challenging especially when trying to measure.
So now we had to connect this guy in there

As you can see the amount of line drawing i have to do to actually get it on the right angle and then on top of it rotating the other cogs so that everything meshes with each other was quite a lot of fun.
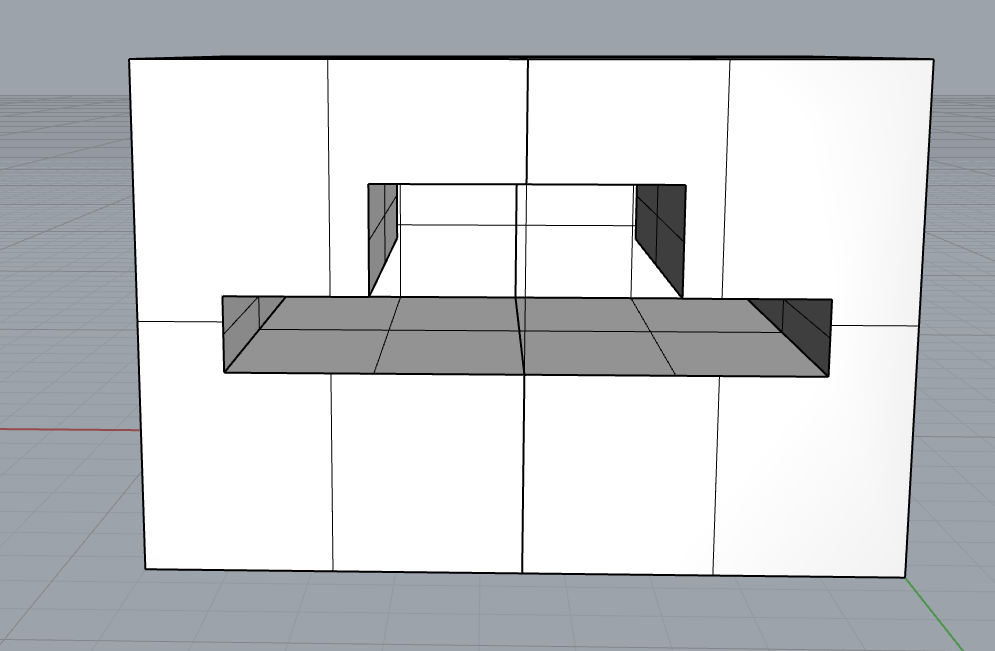
So now the other object that i worked on was the slider which just got completed on the jewellery object so measurements where taken however its thoroughly installed on the piece so i had to measure calipers in very tiny spots again. I got it to wor but not after revolving something 2x to big multiple times and here that is.

So the other thing i talked about in the last blog post was the fact that i was dealing with my object changing so the model had to change in the program this was the most recent one. This was also an alterion that the back plate was removable


The Button system needed to be changed on account of this. The way that these are designed i cannot heat the springs otherwise they will fail so i have to create a system that allows me to insert the spring system and allow for it to function properly which is definitely the largest challenge


To this design which includes the buttons includes a backing plate for them as well as a tube to fit a spring and all the other mechanical parts that have to go together to creat the pushing action of the button
Now the last thing of the day is the clasp for the top and bottom that also connect the hinge which i can totally show tomorrow.
Either way the box part is extremely simple, however im also creating a system that is based on springiness in a piece of silver now this piece is basically just a line drawing but it is very thin and also quite complex to actually cut out in rhino.


So simple enough right well i thought so until started trying to create the crazy thing
which is basically all just a wiggly line because its bent and not squared off because it can't be.

So im also having fun trying to figure out how to properly cut out the notches in the piece since it isn't a straight line either because why would you make it that way when its more accurate.
No comments:
Post a Comment