Monday, 22 October 2018

Reverse Engineering Part 1

Reverse Engineering Part 1

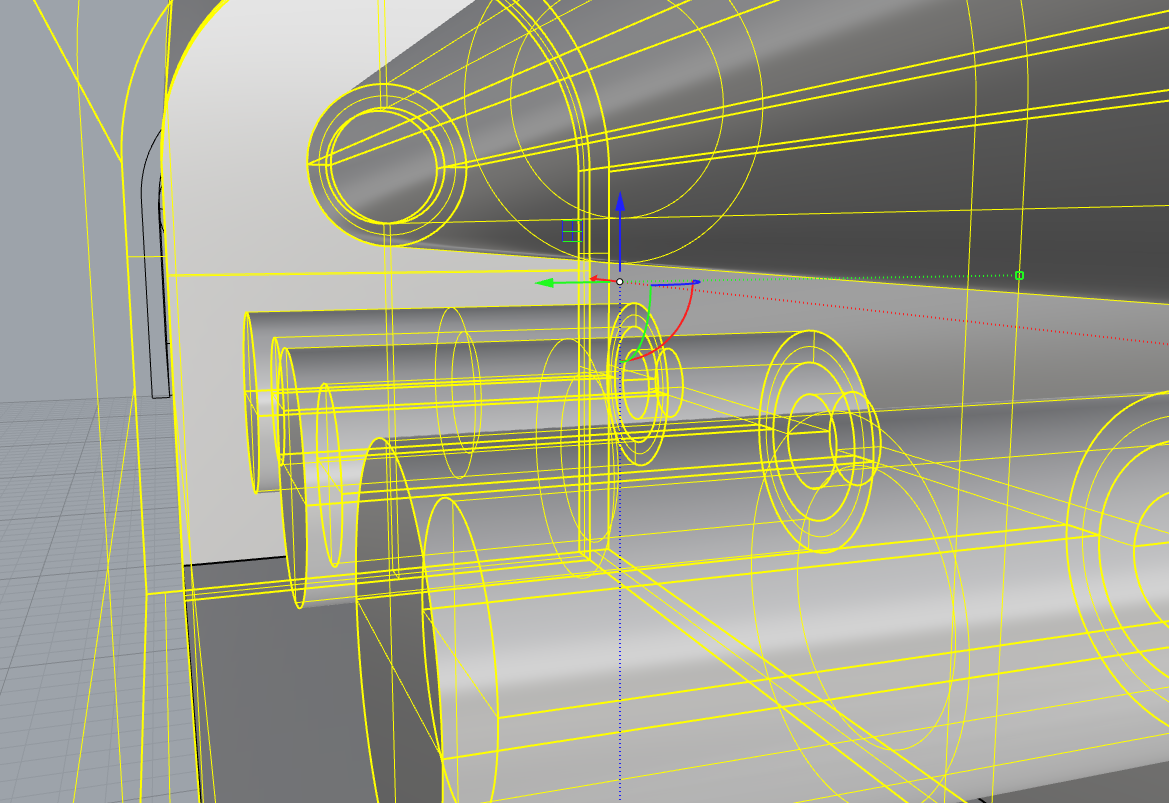
So In tackling the basic pieces for this project well i have to say im pleased at my progress, annoyed at my mistakes and glad im making some parts of this before im actually constructing in real life. I get to see my process that i need for creating in metal and honestly it is probably the most useful tool ever.

To preface the whole project i have to dull down some of the odd metal sizes and a few other things so that everything is managable and my measurments are made to easily fit together like for example. 16 gauge sheet is  1.27mm however it makes it much easier to say 1.25mm and then everything will function the same in regards to distances and what needs to go together to create proper distances and makes the math a little easier on myself.




Thursday, 18 October 2018

Chosen Object For Reverse Engineering

Chosen Object for our First Real Assignment

So recently we have started a new project in Object Design that has a personal meaning to you that you can reverse engineer or pull apart and construct its pieces in Rhino. Now i definitely think i picked myself a challenge as i know my object isn't completed yet because its a jewellery project im in the middle of making.

This decision was founded on he fact that doing so is partially the point of this course as well as the object will be completed before this project is done, so i am simply constructing based on raw materials like sheet metal, brass rod, brass tube, steel rod, and then constructing it based on size and shape. 

Choosing to do this will also allow me to create an object that has moving parts and allows me to model and create in unison so that i have abetter understanding of my processes in relation to making in metal while also evaluating the differences between the metal and a computer where all dimensions and wrong turns and screw ups are avoided while still being part of the making process.

This project also includes gears and hinges and a few other things that have already been constructed that fulfill the requirements of mapping out this idea and correlating it back to this specific project  and how we are supposed to be informed about our process and decisions when deconstructing an object.


 So I only have drawings and raw materials for this proect so far so we shall see how this goes in comparison to the actual object.

Monday, 24 September 2018


These are the three photos i went with i choose them because one is my favorite shirt, the basket ive had for probably my whole life and the corrugated cardboard texture as it was something i noticed and thought that it is fairly unique.


The surface design here plays off of the circles while creating a uniquely intricate pattern but is solely composed of circles while still relation to the linear forms of the basket and the cardboard. The other thing is the pattern mimics the over lapping and changing of pattern present in the basket.

Monday, 17 September 2018

Rhino Castle Object Design 210

So I began 210 Object design this week and we are back to making things in rhino. Its been a long time since i used the program so i wanted a bit of a challenge i definitely bit off more than i could chew however i completed a castle which is what the project was about.


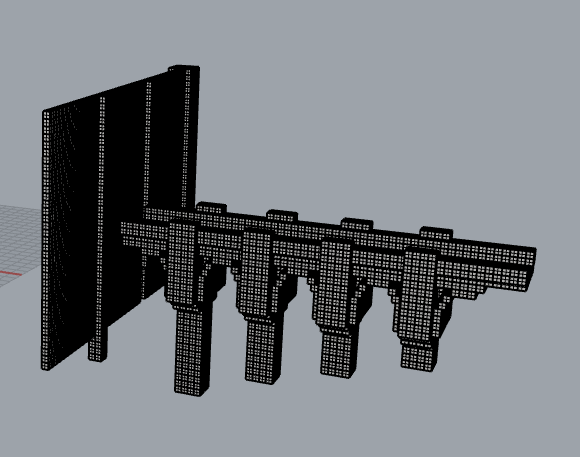
I had an initial Attempt at making something which looks like this However it became unwieldy and really hard to get straight lines and proper contact points because it wasn't set up very well. It was also extremely large like the little pad is a large size and you can barely see it

The First three images are of how the structure for the first idea was made up. The rest are my change in approach I made 5x5 Blocks and in doing so just made an entire structure made of blocks based on the Lego and the modular idea which allowed me to basically create anything i wanted with enough time. It looks a little rough on account of how little time i had in comparison to the other piece i worked on. Either way it is a castle completed by single 5x5 blocks which is definitively based off of Minecraft as well and the fourth image is those blocks from Minecraft however i never used more than the squares. However they are behemoths of buildings and files based on that fact.

Controls Used

ExtrudeCrv
Cap
Move
Rotate
Loft
PlanarSrf
Join
Split
Group
Explode
Angle


And Some Construction Lines


Sunday, 4 December 2016

3D Printing Final Object


This project was produced in partner ship with a fellow student at the Alberta College of Art and Design. Caffrey's blog will have a more in depth analysis of his objects for this project most likely, which can be found here. http://threedobjectdesign.blogspot.ca/

This project was the process of taking two separate designs and mashing them together much like a few previous assignments that we have done. Where concept generation is the key and then amalgamating them is the final stage in completion. This time we have actually printed them out with a 3D printer and created an object that has to follow rapid prototyping rules and guidelines. The end result is a 3D shape.The expectation was to map out the form, function, 3D print-ability and whether it is self-supporting.


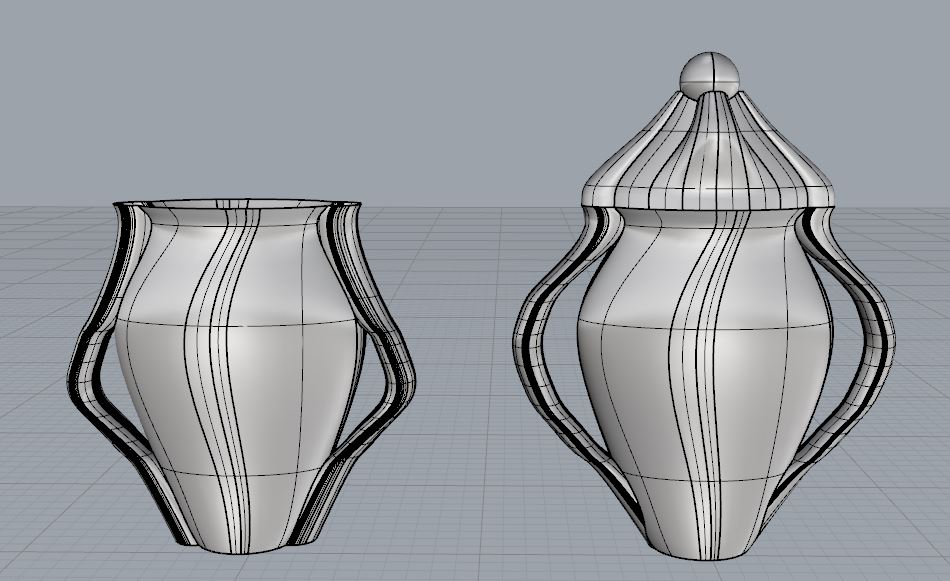
The Two shapes on the right are the original shapes that created our 3D printed model, the combination of both mine and Caffrey's work in our concept generation before this project.


Due to some scheduling conflicts and some difficulties with the printer for previous groups our teacher helped out a lot to get as many people through their projects. The way that we managed to figure out our project had already been completed for us was when we showed up to do a print. The original issues with our designs  was that it was to tall which was simply fixed by concentrically resizing it. the other issue we had was with the printer which our teacher had previously trouble shot. The issue was that once it got to a certain point it would either fair because it stopped extruding or it would melt at the top. The solution was to make two objects and give the material some time to cool because the circumference was so small. The completed project is rough and we ended up with 4 completed ones because we decided we wanted to try printing in clear plastic again. Also we wanted the experience ourselves for the future.

This is the completed design in clear plastic it has some minor deoformaties because there where two pieces as well as they are also very compact while still being hollow.

3D Print Hybrid Design Process

This project was produced in partner ship with a fellow student at the Alberta College of Art and Design. Caffrey's blog will have a more in depth analysis of his objects for this project most likely, which can be found here. http://threedobjectdesign.blogspot.ca/

 
This project was the process of taking two separate designs and mashing them together much like a few previous assignments that we have done. Where concept generation is the key and then amalgamating them is the final stage in completion. This time we will actually print them out with a 3D printer and create an object that has to follow rapid prototyping rules and guidelines. The end result will be a complete 3D shape.The expectation is to map out the form, function, 3D print-ability and whether it is self-supporting.

The shapes that have been generated for my project just focus upon the loft command in rhino with a much more organic and pottery like shape. Their roundness and gradual movement in form allows for the 3D print to actually be completed as a shape. (See my previous blog posts)
 

While mine are very Organic in structure Caffrey's are a bit more modeled and shaped and using a few more tools in rhino to create the partterning.


When we went through theses three sets of designs together there where a few differences of opinion upon the best way to approach this. Being as that was the case we both  just took a class to remodel them into objects that we where more satisfied with. I had created only 2 mashups however Caffrey created about 5 (See his blog http://threedobjectdesign.blogspot.ca/) 

These are my two shapes using more of the tools that Caffrey used.
 

After going through about 10 different shapes and iterations we had a few designs that seemed to be well put together and may be able to print. The final design was Caffrey's It included an altered design of the 3 main designs shown above, the ones that got put together where the ones on the right. These 2 design mad for a challenge and they where very dissimilar. 

Tuesday, 22 November 2016

3D printing object generation

This project is based upon the idea of creating more robust designs and using multiple devices in rhino to actually accomplish them. This generation of 9 different designs was based on creating 3D printable models that could become small bottles cups or something of that ilk. I focused a lot on the formal designs that could actually be made out of clay if i ever got to that point with this. However these designs are a lot of playing around with different types of lofting within Rhino and a small amount of the trim tool. Each design although not necessarily completely unique allows me to play with different designs and iterations depend on loft structure and form thta can then be possibly exported and properly made with a 3D printer

ONE(Squished and Angled)


TWO


THREE


 FOUR(Normal loft)


FIVE(With handles)


SIX(Just a hole)

SEVEN

 
 EIGHT(Inside piece)


NINE(Tight version)